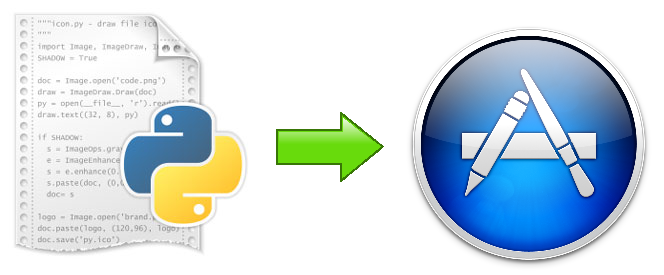
How to Build a Mac Application from Python Script
(中文版 Chinese Version)Here I would introduce how to build a Mac application from a Python script with the library py2app. I also had experience building EXE file from Python script under Windows, and I must say in Mac things are much easier.
(Please note that this will not help generate GUI program automatically. If you want a GUI, you need to use some libraries like Tkinter. )
(1) Install py2app Library
pip install py2app
(2) Create a setup.py File
Assume that your Python script is MyApplication.py, then you can run command below in the working directory (under which your python script lies) to generate the setup.py file for this project.
py2applet --make-setup MyApplication.py
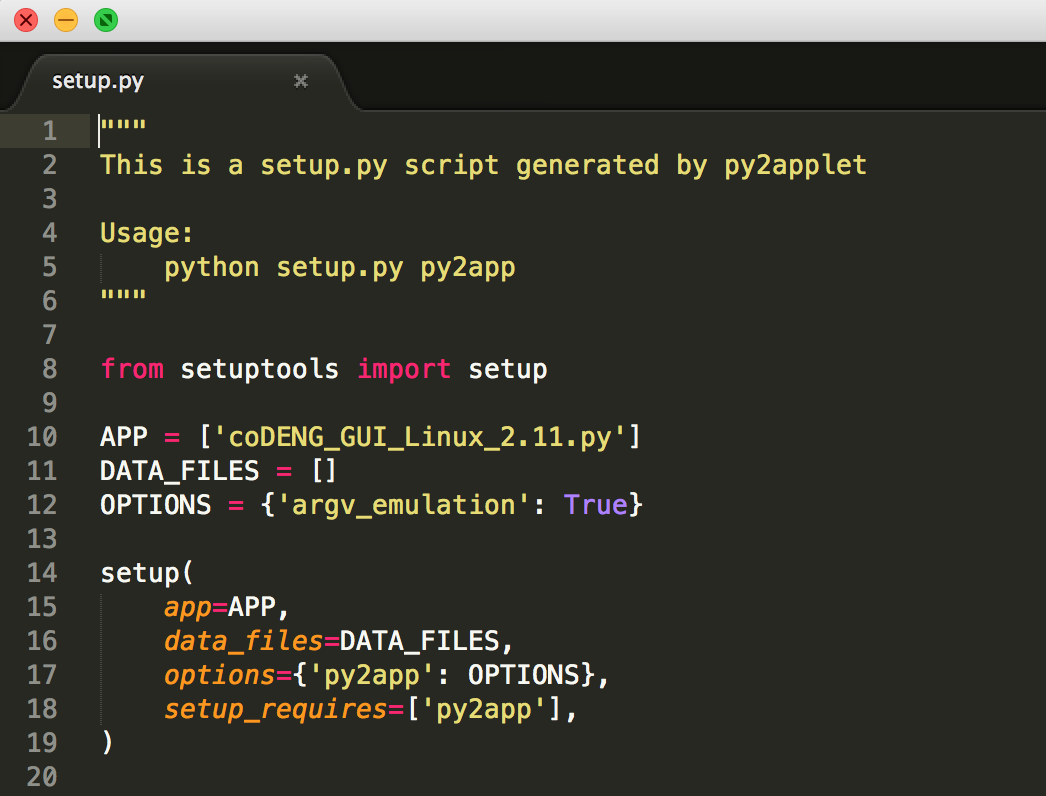
setup.py file is the “project file” containing necessary information for building your application. A setup.py file looks like below:
(3) Build the Mac application
Then things left would be quite simple, you can build the Mac application with command in the working directory.
$ python setup.py py2app
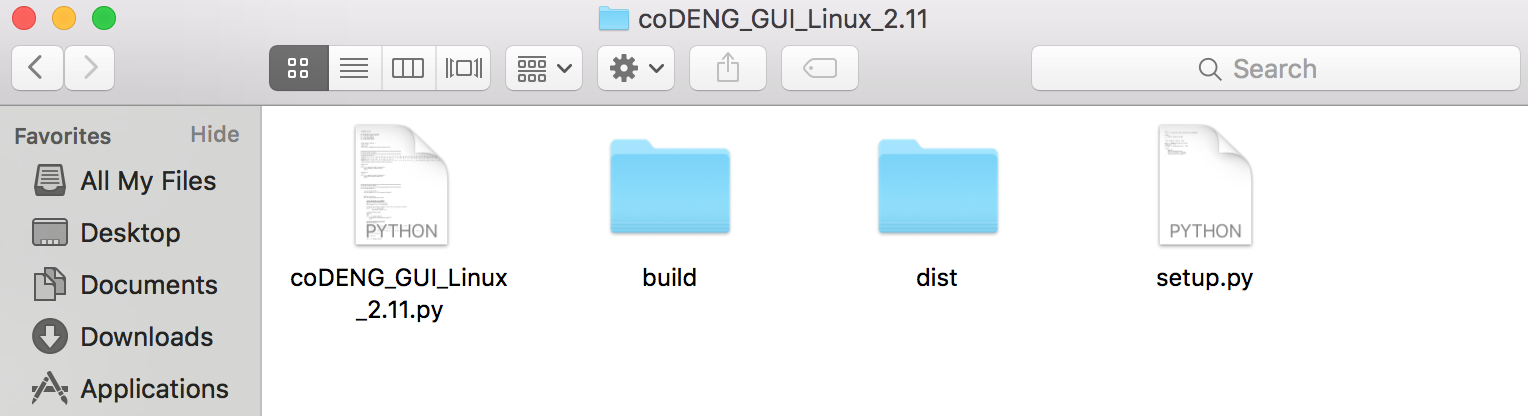
Then you can find that folders “build” and “dist” were created. You don’t need to care about “build” folder, and the application file is in “dist” folder. It’s in .app format (but the format name will not be seen normally).
You can also use the alias mode by adding option “-A” following this command. Alias mode doesn’t create a standalone application, and the application created with alias mode can’t be run on other machines. This is a “develop mode”. You can also use "--alias” instead of “-A”.
$ python setup.py py2app -A
(4) More options during building
We have diverse options for building.
For example, the final bundle may be relatively big (the final application may be over 10M while the script is less than 100k). This is due to that many libraries are included into it while some of them will not be used in the application. So we can use option "--excludes (-e)” to exclude the unnecessary modules. If we have more than one to exclude, we can use comma to separate them. Like
python setup.py py2app -e random,operator,select,strop,_codecs_cn,_codecs_hk,_codecs_tw,_codecs_kr,
_codecs_jp,parser,Nav,io,pyexpat,cPickle,collections,socket,fcntl,grp,gestalt
But do make sure that necessary libraries are included so that the application can work.
We can also use option “--iconfile” to add icon for the application.
you can get more information about other options in link http://pythonhosted.org/py2app/options.html.
Reference
https://pythonhosted.org/py2app/tutorial.html由Python脚本生成Mac应用
(English Version)这里我将介绍如何通过python库py2app来将一个Python的脚本转化为一个Mac下的应用可执行文件。我之前也尝试过在windows环境下由Python 脚本生成EXE文件。Mac中的体验明显更为简单友好。
(请注意py2app并不能自动帮助生成图形化的用户界面(GUI)。如果你需要的是一个图形化的用户界面,你可以使用类似Tkinter这样的库来帮助完成)
(1) 安装py2app库
pip install py2app
(2) 生成setup.py文件
假设你的Python 脚本名为MyApplication.py,你可以在你的工作目录当中运行如下命令来生成一个setup.py文件
py2applet --make-setup MyApplication.py
Setup.py文件是一个“项目文件”,其中包含了生成可执行文件时所需要的信息。一个典型的setup.py文件结构如下:
(3) 生成Mac应用程序
之后的步骤非常简单,通过在工作目录中运行以下的命令你就可以生成Mac的应用程序了
$ python setup.py py2app
之后你可以在工作目录中找到“build”和“dist”这两个文件夹。你并不需要关注“build”文件夹,而我们所需要的应用文件就在“dist”文件夹中,其格式为.app(但一般情况下该格式后缀名不显示)。
你也可以通过选项”-A"启用alias模式。Alias模式并不会生成独立的程序(仍依赖于本地的源码),并不能在其他机器上运行。这可以被当作一种“开发模式”。你也可以使用”--alias” 代替“-A”。
$ python setup.py py2app -A
(4) 生成程序时的多种选项
在生成应用程序时我们也有其他多样的选项。
例如,最后所生成的程序可能会比较大(即使本来的脚本大小小于100k,但最终生成的应用程序可能大于10M)。这是因为很多python库会被默认加入到所生成的应用程序中去,即使它们并不会被用到。所以我们可以在生成的过程之中使用选项"--excludes (-e)”来将那些不必要的库排除在外。如果我们需要去除多个库,则可以使用逗号来间隔库名。
python setup.py py2app -e random,operator,select,strop,_codecs_cn,_codecs_hk,_codecs_tw,_codecs_kr,
_codecs_jp,parser,Nav,io,pyexpat,cPickle,collections,socket,fcntl,grp,gestalt
但一定需要注意不要将一些需要的库去除了,否则最终的应用程序将无法工作
我们也可以使用选项“--iconfile”来为我们的应用程序添加图标。
更多的选项可以参加链接 http://pythonhosted.org/py2app/options.html.